| Overview This workflow is used when you want to create a purchase order where:
|
1. Start a New PO
Click Create PO (orange button).
Attach a quote if needed (optional).


2. Enter Order Info
Order Name: Provide a descriptive name
Project: Select the project issuing the order from the dropdown.

3. Supplier Details
- Supplier Name: Choose the supplier
Supplier Contact: Select the contact person from the dropdown.
4. Delivery Details
Must select: Delivery → This enables the option to choose an Inventory Location.
From the Location dropdown, select the location that will receive the items

Enter the Delivery Date & Time.
5. Add Purchase Items
You have two ways to add items to your order:
- Manually Add Items
Click + Add Purchase Item(s)
Enter the quantity, pricing and assign a cost code.

- From an Attached Quote
If you attached a supplier quote at the start, items will be automatically scanned and populated into the order.
Review the scanned items, update quantities if needed, and cost codes.
6. Review & Issue Order
Double-check project, location, and item details.
Add any special instructions or comments.
Click Issue Purchase Order (orange button) to finalize.

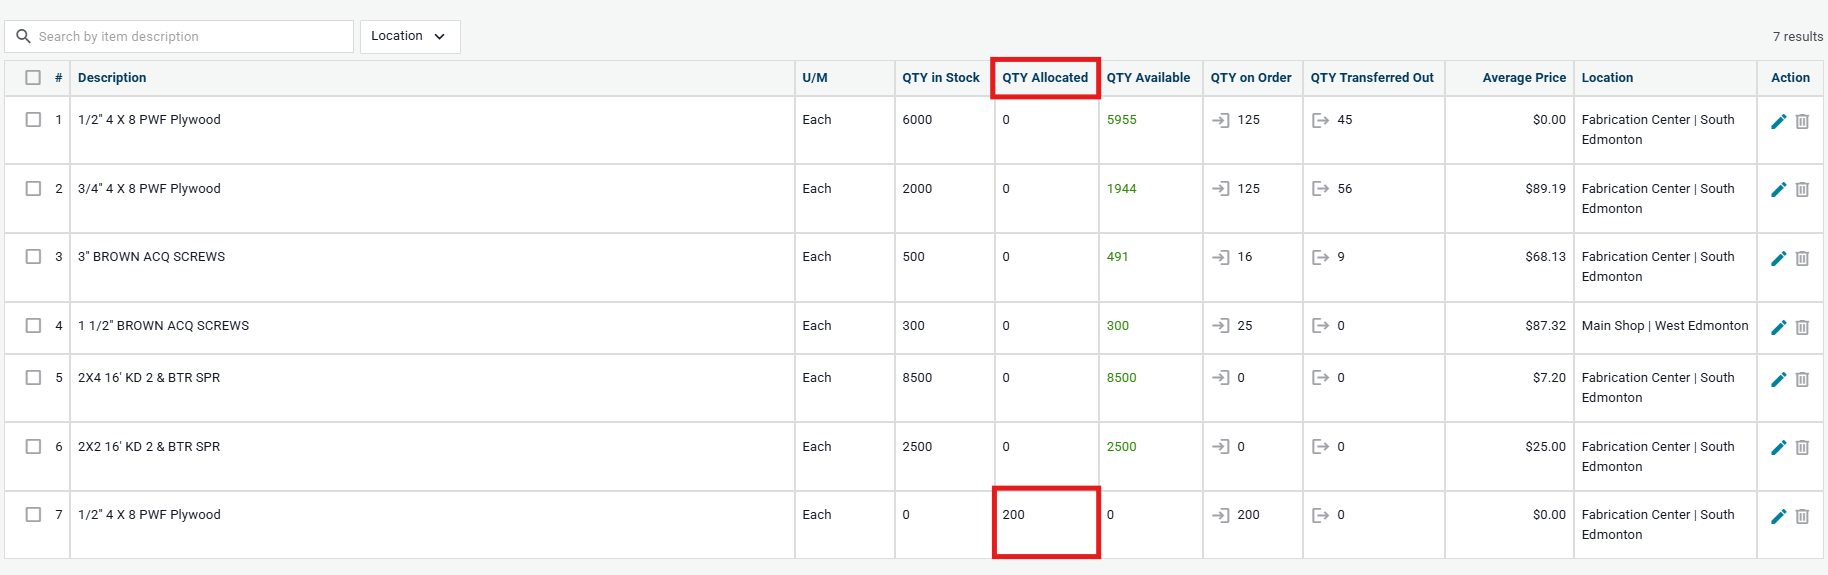
Once the PO is issued, the items appear in your inventory with quantities Allocated to the project at the chosen inventory location.
Example:
In this example, 200 units of plywood are shown as QTY Allocated in Fabrication Center | South Edmonton.
Need help?
Reach out to our Customer Support team:
- Call us toll-free at 1-833-712-5021
- Chat with us in our web and mobile apps